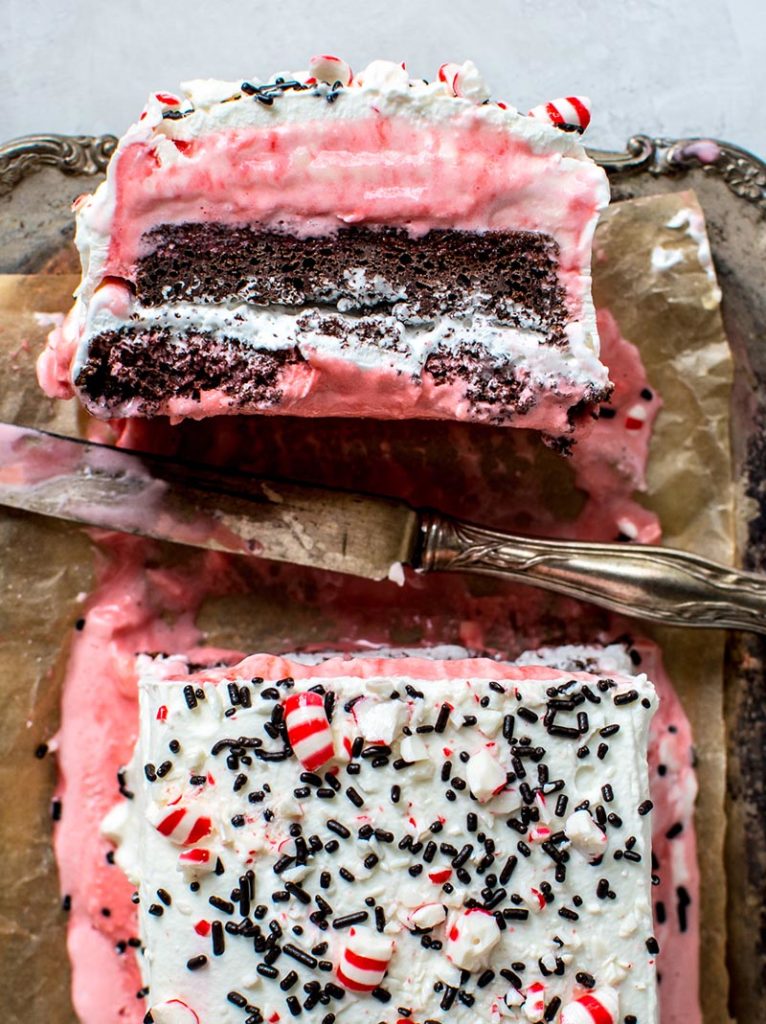
Peppermint ice cream. Chocolate cake.
Peppermint Ice Cream Chocolate Cake, that’s more like it.
Both items can stand alone as a delicious holiday dessert. Buuuut if the two are combined with a little marshmallow fluff between the layers… you have created something magically holiday-riffic.
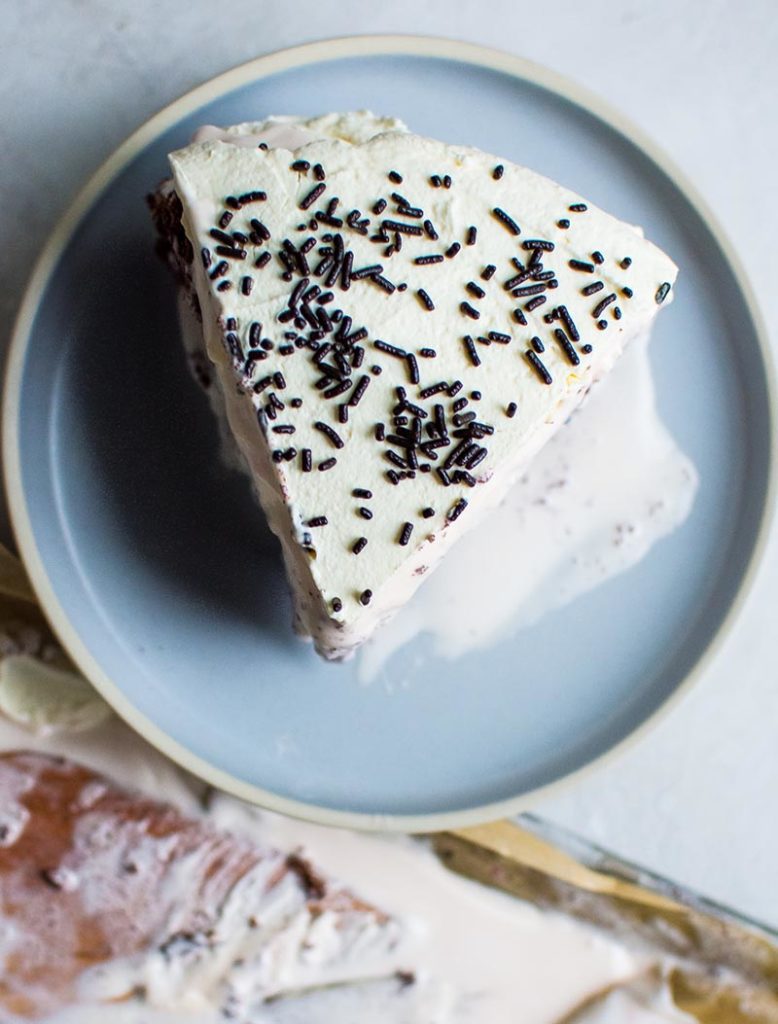
I’ve always been a fan of ice cream cakes. There is something about the cold ice cream combined with layers of spongy cake. They belong together.
I’m going to be upfront about making an ice cream cake. It takes time and it takes energy. But, when it’s all said and done, this dessert takes the cake!
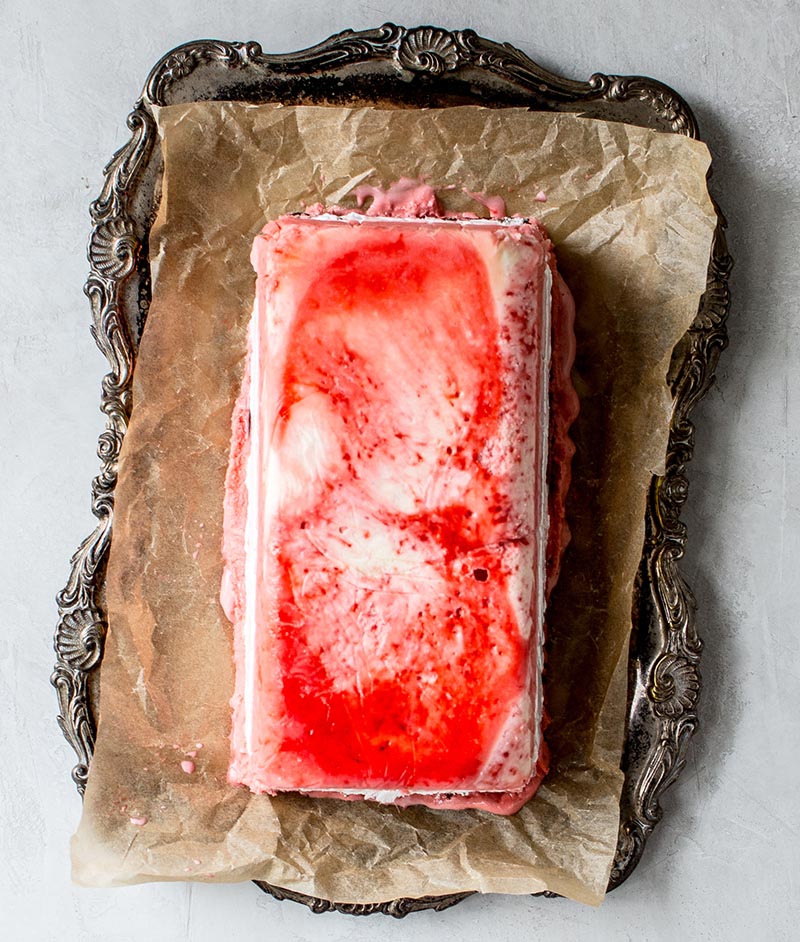
The major reason that an ice cream cake takes time is the homemade ice cream. The custard has to chill before churning. Then, after churning the custard, the ice cream has to set in the freezer. This is about an 8-12 hour experience. However, if you choose to use store-bought ice cream from Market Street (I suggest Blue Bell Peppermint Ice Cream) for this cake—you have already saved yourself a bit of time.
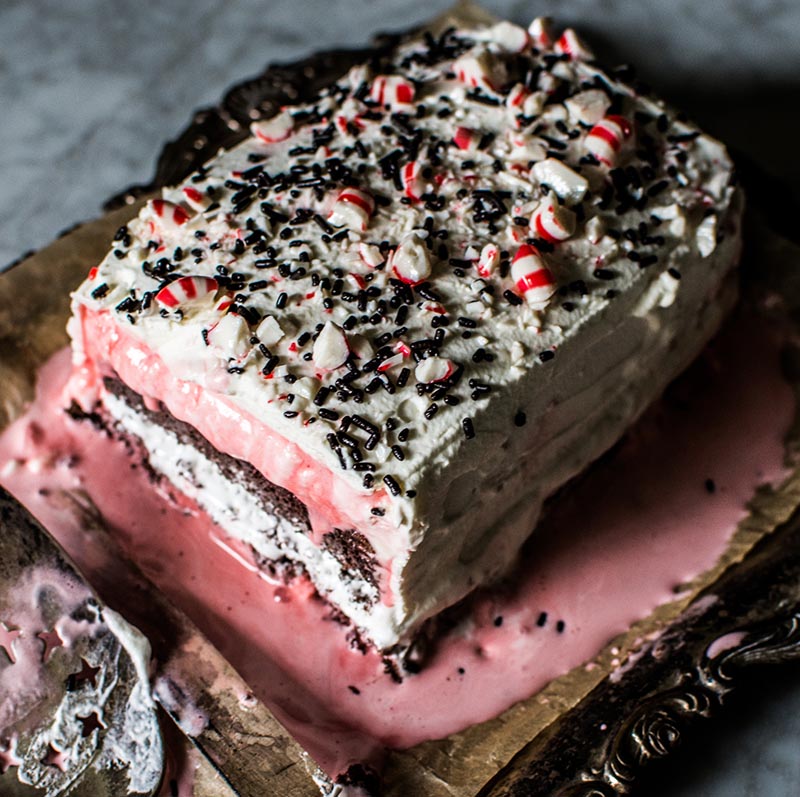
Now, the other time constraint that no one can avoid is the time it takes to freeze the layers of ice cream and making the chocolate cake. The first layer of ice cream for the cake takes 4 hours to freeze. Then, the chocolate cake slices with marshmallow fluff top the ice cream. And you guessed it… there’s another layer of ice cream that takes 6 hours to freeze goes on top of that.
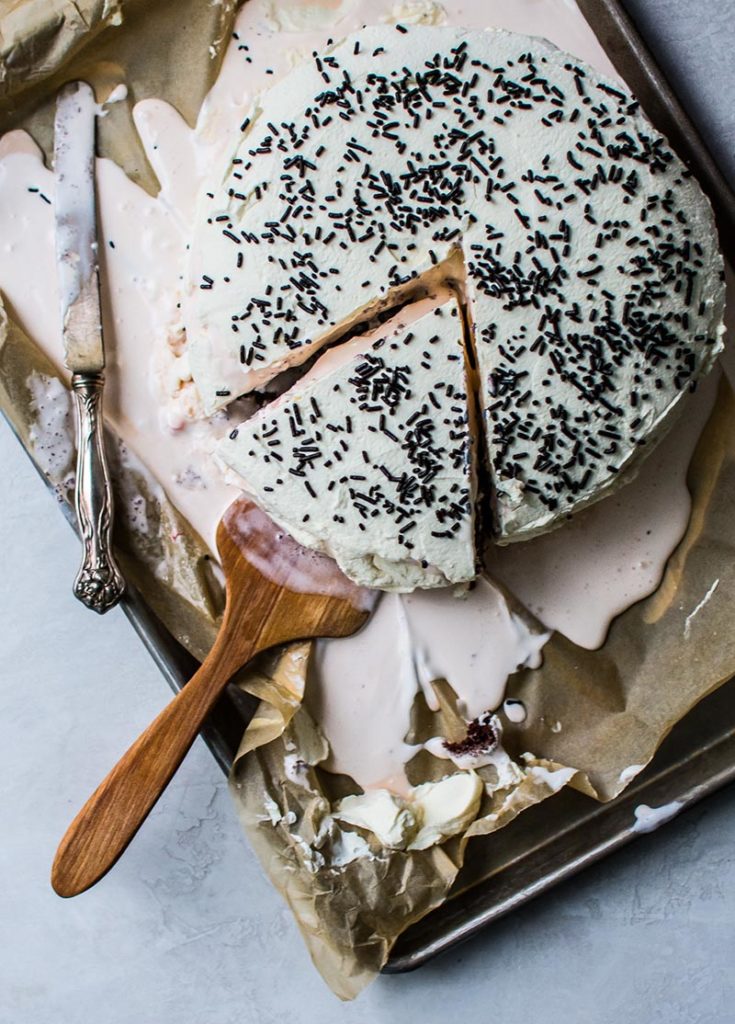
My favorite surprise element of this cake is the marshmallow fluff. Homemade marshmallow fluff is a delicacy, and can be slightly messy at times. It’s not time consuming, but does take a little bit of effort.
I say this not to scare you, but to inform you. However, let me say this: investing time in the kitchen for special occasions is always good. Plus, it’s Christmas. That’s reason enough.
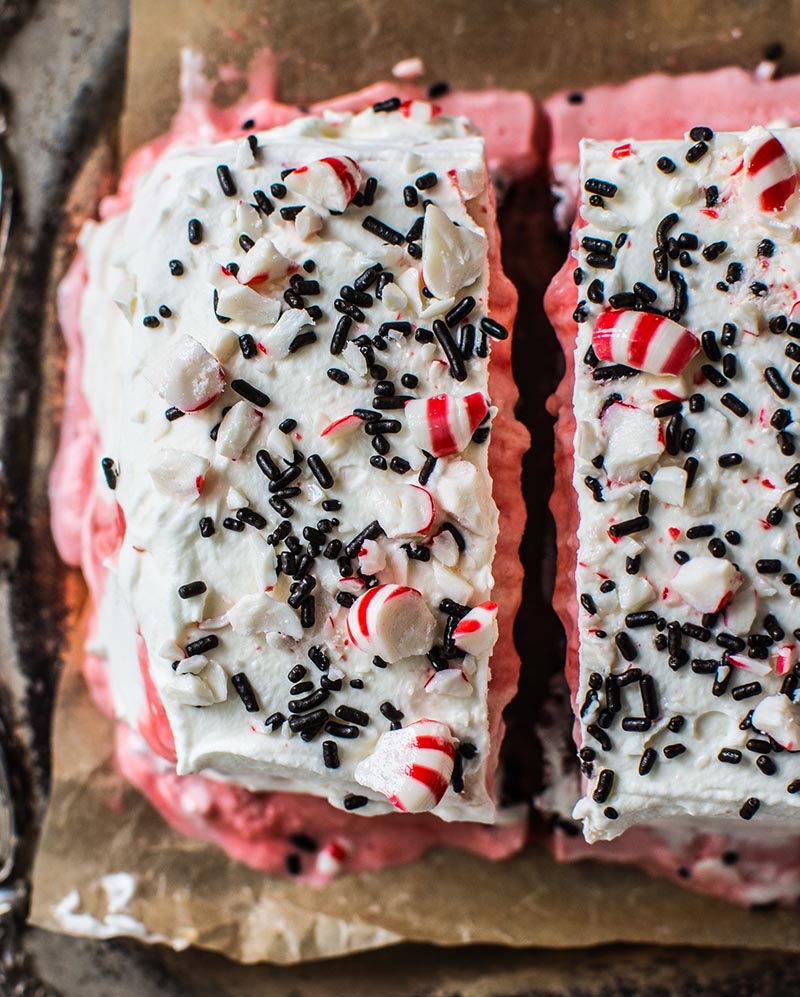
If you opt to go with a less intense Peppermint Chocolate Ice Cream Cake—I support you. I get it. Here’s the plan: go to Market Street and pick-up peppermint ice cream, premade chocolate cake (or a boxed mix) and marshmallow fluff. Done.
Now that you’re properly prepped to make this HOLIDAY SPECTACTULAR I must say something very important.
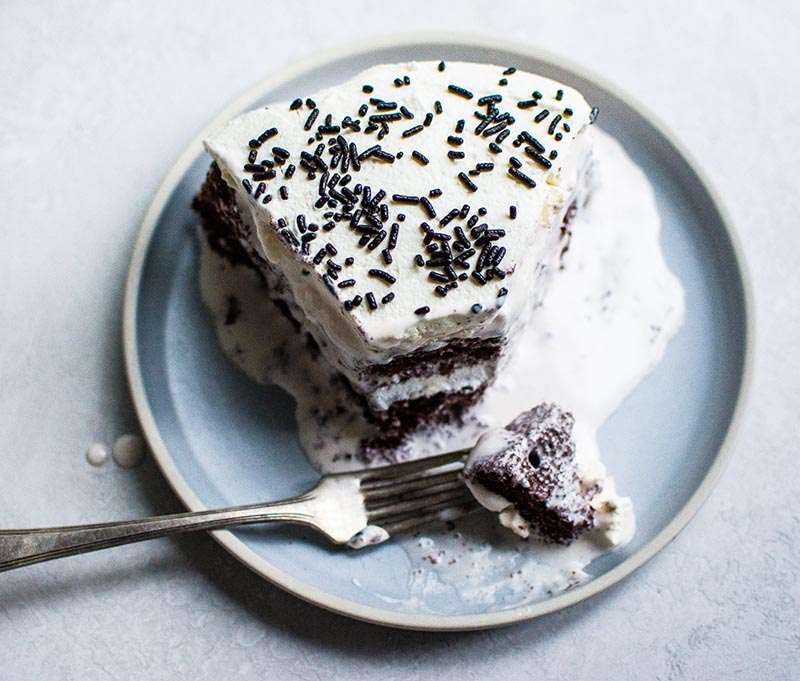
It’s so worth it—
all the energy, all the time…this cake is WORTH.IT. And it’s not just worth it for yourself, it’s worth it for the people in your life. Making homemade ice cream cake spills absolute joy into the hearts of its recipients.
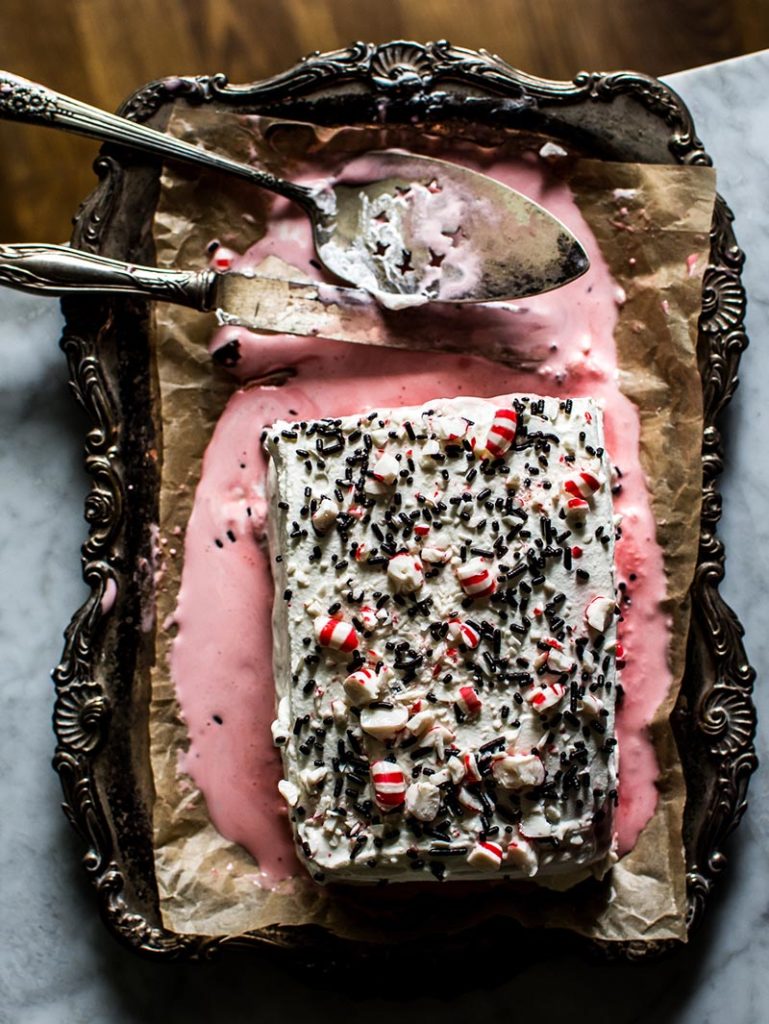
Whatever your desire, whether to make all things by scratch; ice cream, chocolate cake, marshmallow fluff OR if you want to purchase all of the above items premade, Market Street will pave the path for either direction. And each direction will yield a festive, delicious and magical holiday dessert.
Peppermint Ice Cream Chocolate Cake
Ingredients
- peppermint ice cream, see recipe below
- favorite chocolate cake, baked in two loaf pans or two 9 inch round cake pans
- marshmallow fluff, see recipe below
- whipped cream, see recipe below
- peppermints, crushed, for topping
- chocolate sprinkles, for topping
for the peppermint ice cream
- 3 cups half and half
- 1/2 teaspoon peppermint extract
- 2 teaspoons vanilla extract
- 3/4 cup sugar
- 5 egg yolks
- 1 cup peppermints, crushed
for the Marshmallow Crème “Fluff”
- 1 cup sugar
- 1 cup corn syrup
- 1/3 cup and 1 tablespoon water
- 4 egg whites
- 3/4 teaspoon cream of tartar
- 1 1/2 teaspoons vanilla extract
for the whipped cream
- 1 cup heavy cream
- 1/2 cup crème fraiche
- 3 teaspoons sugar
- 2 teaspoons vanilla extract
Instructions
for the peppermint ice cream
- 24 hours before making ice cream with an electric ice-cream maker, place the freezer bowl in the freezer. Check your ice cream maker manual for specific instructions.
- In a small sauce pan, heat the half and half, peppermint extract and vanilla extract on medium-low for 15 minutes. Be sure to stir occasionally and do not let it boil.
- Meanwhile, in a large mixing bowl, add the yolks and sugar. With a whisk, break the yolks and combine with the sugar.
- Remove the liquid from the stovetop and temper the yolk mixture. To temper the yolks, whisk the eggs quickly while slowly adding the warm liquid (about 1/4 cup at a time) until all the liquid is combined.
- Cover the bowl and place in the fridge. Let it chill for at least 2 hours, up to 24 hours.
- Place the ice cream mixture into the ice cream maker and mix for 20 minutes, or until the ice cream is thickened to the desired consistency. Add the crushed peppermints at the end of the mixing. Mix for a few more minutes until the peppermints are well incorporated.
- Serve immediately for soft serve, or place in a freezer safe container and freeze for a firmer texture.
for the Marshmallow Crème “Fluff”
- Combine the water, sugar and corn syrup into a sauce pan. Stir to combine. Cook over high until it reaches 240 degrees (about 15 minutes). Do not stir while the corn syrup mixture is cooking.
- Meanwhile, with an electric mixer on high whip the egg whites and cream of tartar in a large stainless steel bowl until stiff peak forms, about 3-4 minutes.
- Add the vanilla extract to the egg whites.
- Once the corn syrup mixture has reached 240 degrees, remove it from the heat. Lower the mixer speed to low and slowly pour the corn syrup mixture into the egg white peaks. Once the syrup has been poured into the egg whites, increase the speed to medium high and continue to whip until the marshmallow crème is fluffy, about 7 to 8 minutes.
- Let the marshmallow crème “fluff” cool. Place in airtight containers and store in the fridge up to two weeks.
for the whipped cream
- Place a stainless steel bowl (or the preferred mixing bowl in the fridge and let chill for 15 minutes.
- Once the bowl is chilled, removed it from the fridge and place all ingredients into the bowl.
- With a whipping attachment, whip the cream mixture on medium high until peaks form.
- Place in an airtight container and keep in the fridge until ready to use (up to 24 hours).
Notes
Disclosure: This is a sponsored post on behalf of Market Street. All opinions are my own.

