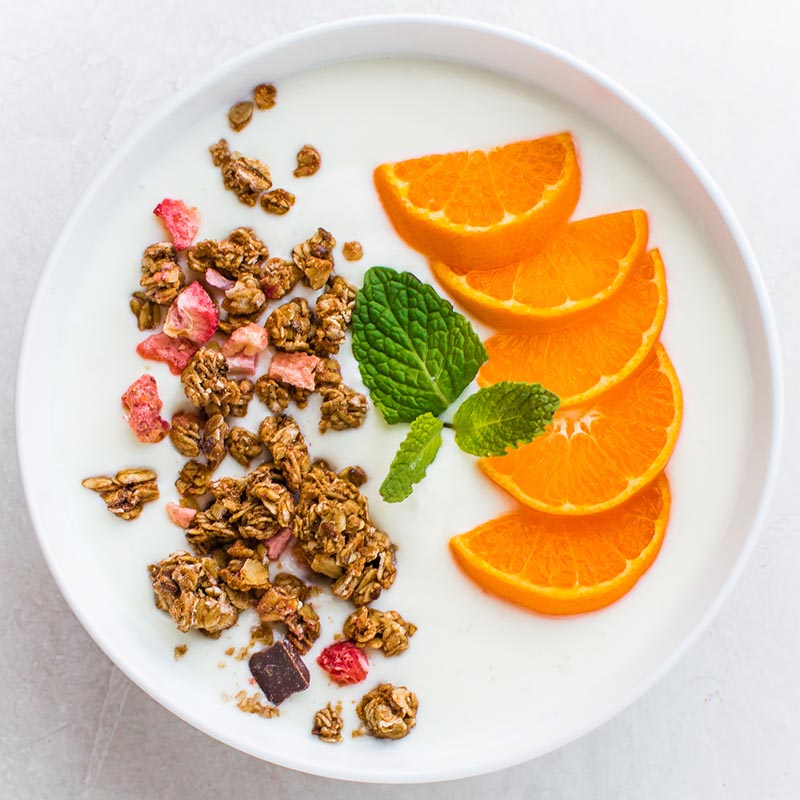
Yogurt is a refrigerator staple that can (and should) be created at home. A quick internet search will yield a variety of methods on making yogurt at home, which may hold you back on this endeavor. As you sift through the yogurt noise keep this in mind: homemade yogurt is an easy skill to acquire.
Creating yogurt is a simple formula: milk and yogurt starter + time and heat. Also, basic kitchen equipment is all that is needed: a kitchen thermometer and a contraption that can maintain heat (110 to 115 degrees) for a long period of time (about 4-24 hours).
If you don’t have a yogurt maker (which makes this process even easier) there are several approaches to getting the job done. From the cooktop to the oven, from the slow-cooker to an Instant Pot and even the top of a fridge or a heating pad–there’s (almost) no wrong way to ferment milk.
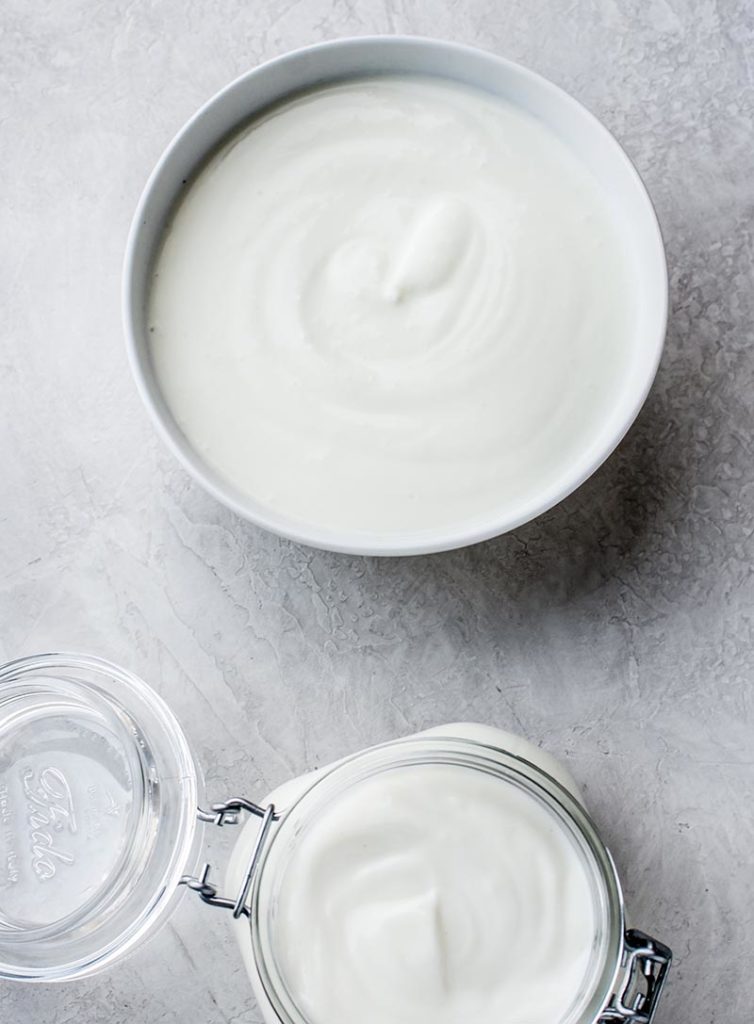
With multiple rounds of yogurt making I have concluded that homemade yogurt, while there is a science behind it, is very subjective. Regardless of the method of making yogurt, one thing is true. It’s simple. Like 5 steps simple:
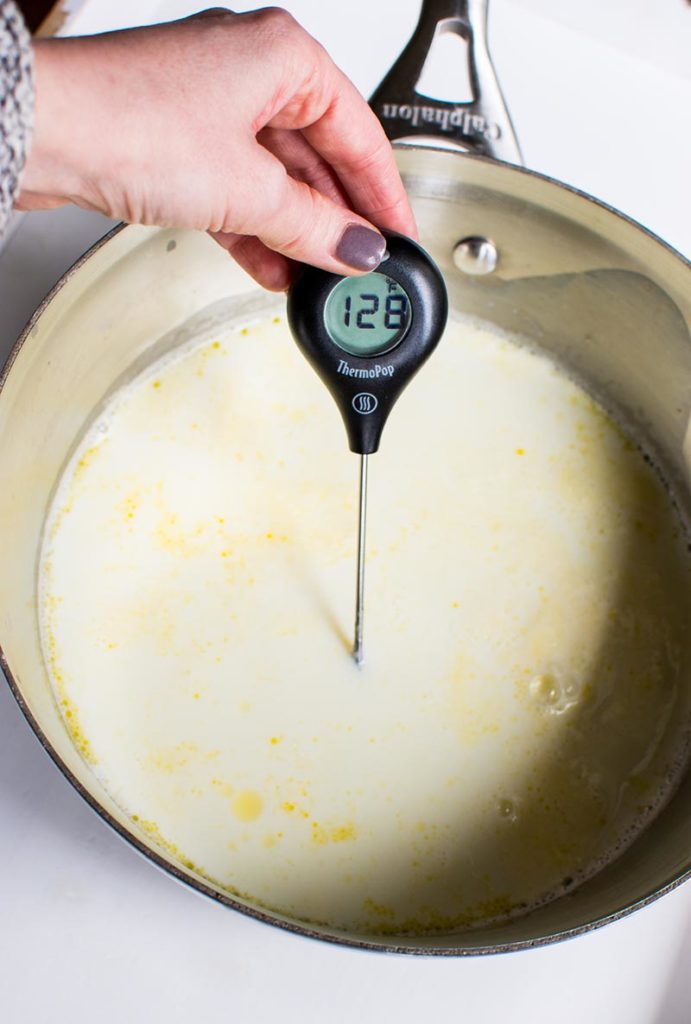
- warm milk to 180 degrees
- let milk cool to 115 degrees
- add starter to milk
- let the milk mixture “ferment”
- cool and chill in the fridge, strain and whisk
Once these steps are mastered, then the fun comes in: creating a yogurt based on preference.
Developing Flavor and Thickness: The base of yogurt flavor and thickness depends on these ingredients used, temperature maintained and time allotted. A tart, thick yogurt takes longer than a less tangy thinner variety. The type of milk used (I prefer organic whole milk that isn’t overly pasteurized) also affects taste and thickness. A note to remember: the higher the fat content in the milk, the thicker and creamier the yogurt will be. The result of homemade yogurt is truly up to the cook’s preference.
Making Non-Dairy Yogurt: There are several non-dairy yogurt starters available for purchase online. With a quick stop at Whole Foods you can find Belle and Bella Non-Dairy Yogurt Starter. Be aware that non-dairy yogurt tends to be thinner, however adding arrow root during the heating process will thicken the yogurt. Non-dairy starters can be used with variety of non-dairy milks—start off with soy or coconut!
Adding Additional Flavor: Additional flavors can be added while the milk is cooling to 115 degrees. Simply add aromatics and sweetener (like vanilla beans and sugar) to create the preferred flavor profile.
Correcting a Bad Batch: If the yogurt is separated, lumpy or isn’t thick enough, don’t worry. Strain the yogurt and then whip with a whisk until smooth.
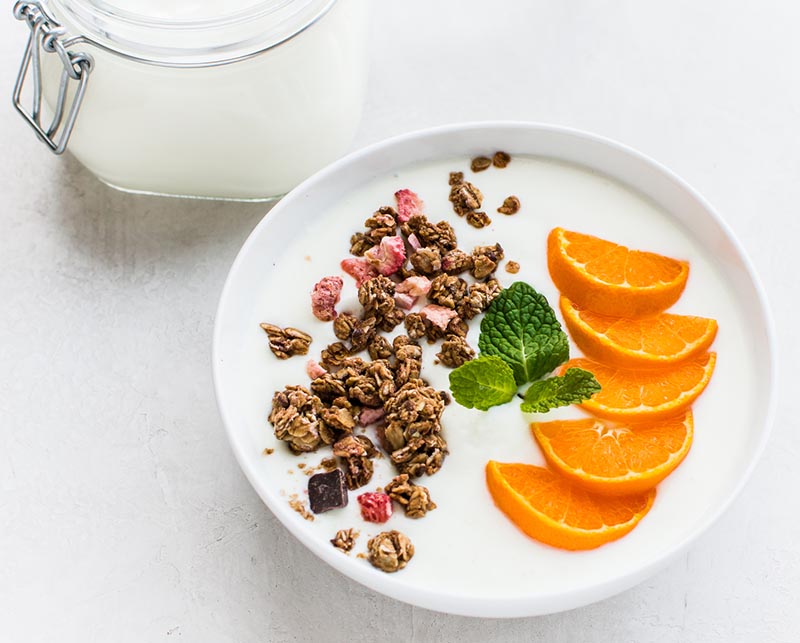
I prefer a classic yet modern approach to homemade yogurt: cooktop and Instant Pot. There’s no guess work with this method. I can precisely bring the milk to the correct temperature (180 degrees) on the cooktop. Once the milk has cooled to 115 degrees and the starter added, the mixture can be placed into a controlled temperature environment in the Instant Pot. Using the yogurt function I can customize the temperature to 110 degrees and set the time to 5 hours. Using this method, I know precisely when the yogurt will be finished and at my desired thickness.
Keep in mind that while yogurt appears to be a simple concoction it is also delicate. Small things like getting a bad starter batch or overheating can result in lumpy, watery or even separated yogurt (just to name a few possibilities). The best way to truly perfect the skill of homemade yogurt is trial and error.
Homemade Plain Yogurt
Ingredients
- 4 cups milk
- 3 tablespoons plain yogurt, with live active cultures
- instant read thermometer
Instructions
- Place the milk in a saucepan. Warm over medium heat until it reaches 180 degrees. This could take between 10-20 minutes depending on how hot your cooktop is.
- Remove the sauce pan from the heat. Turn the Instant Pot on using the yogurt feature. Using the customize feature, adjust the temperature setting to 110 degrees. Set for 6 hours and start the Instant Pot (this will preheat the Instant Pot ready for yogurt making).
- Let the temperature of the milk cool to 115 degrees (about 30 minutes). Remove 1/4 cup milk and place into a bowl. Stir in the yogurt until well-combined. Stir this mixture back into the milk.
- Pour the milk mixture into the Instant Pot insert and secure the lid. Once the yogurt has fermented for 5 hours, remove the lid and examine the texture. If a thicker consistency is desired, continue to let the yogurt ferment. Be sure to restart the Instant Pot and set for the desired time at 110 degrees.
- Remove the insert and place the yogurt into an air tight container. Store in the fridge for at least 6 hours.
- Remove and strain for desired consistency. Whisk until smooth.

